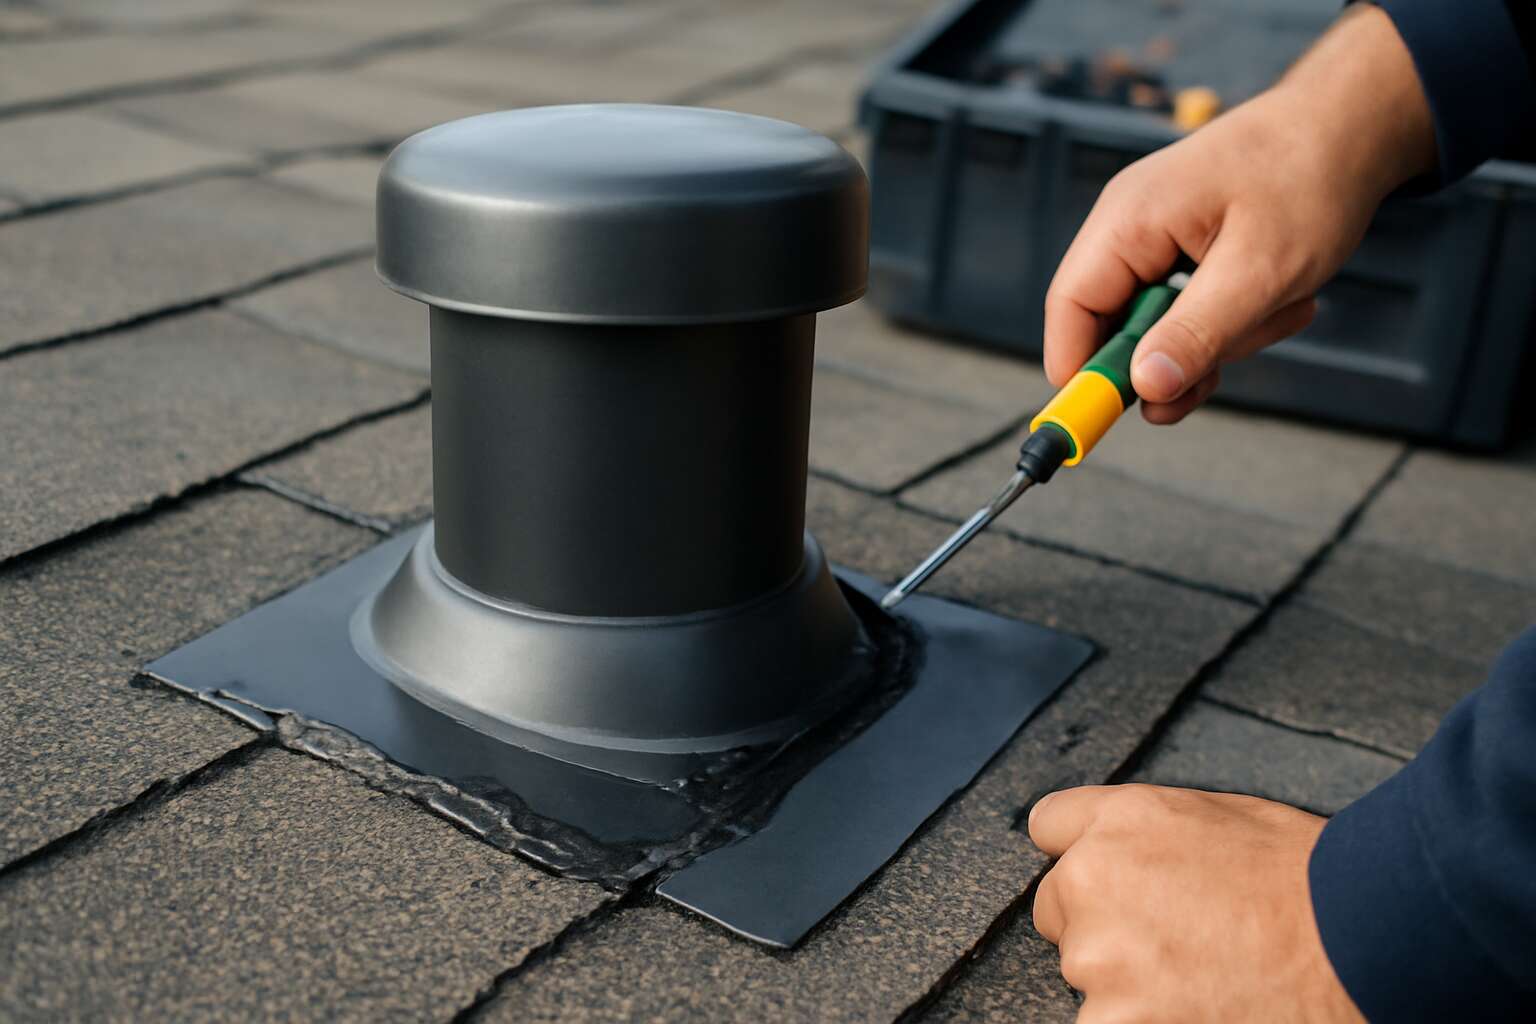
Planning and preparation for vent cap installation on a roof
Assessing roof conditions and ventilation needs
In South Africa, a properly planned roof vent cap installation can cut attic heat by up to 20%, proving that small details deliver real comfort. Good planning helps you align ventilation needs with your roof’s design and the climate you live in. The aim is to balance intake and exhaust so moisture and heat escape without creating hot spots or drafts on steep or metal roofs.
Planning and preparation hinge on assessing roof conditions and ventilation needs. Before any work, consider how age, material, and existing penetrations affect airflow and integrity.
- Roof age and material
- Existing penetrations and flashing
- Attic insulation and moisture signs
- Local wind exposure and weather patterns
Check local building codes and ensure compatibility with your roof type.
This groundwork helps ensure the project respects the house and climate, keeping attic space balanced and durable for SA conditions.
Choosing vent cap styles and materials
South African roofs bake in summer heat, and the attic doesn’t forgive quickly. A properly planned roof vent cap installation can cut attic heat by up to 20%, proving that small details deliver real comfort. Good planning helps you align ventilation needs with your roof’s design and the climate you call home, balancing intake and exhaust so heat escapes without creating drafts on metal roofs.
Choosing vent cap styles and materials should lean on durability first, aesthetics second—because a cap that shines in the showroom but rots in the wind won’t win. For SA conditions, pick corrosion-resistant metals or UV-stable plastics. Think about roof type—tile, metal, or thatch-adjacent surfaces—and how wind and salt spray might influence long life.
Ultimately, roof vent cap installation decisions should align with your climate, house style, and budget, so the cap doesn’t feel like a random afterthought but a deliberate design note.
Local codes and permits for vent cap work
South African summers push roof temps skyward, and a thoughtful roof vent cap installation can cut attic heat by as much as 20%. The payoff is tangible—cooler interiors and less strain on cooling systems.
Planning starts with local codes. Check municipal requirements for permits and inspections. In SA, you’ll navigate National Building Regulations and council bylaws, with some towns asking for simple drawings before work begins.
To stay aligned with regulations, consider these factors before a roof vent cap installation proceeds:
- Permits and fees: verify requirements and budget.
- Documentation: determine if drawings or site notes are needed.
- Contractor credentials: ensure licenced SA tradespeople understand local conditions.
- Inspections: anticipate post-completion checks and paperwork.
With permits in place, the project flows more smoothly and avoids delays when the heat is on.
Measuring and planning layout to optimize airflow
Across SA homes, attic heat can surge dramatically on scorching days, turning under-eaves into a makeshift sauna. Planning begins with careful measuring and layout to optimize airflow, a step that keeps the roof vent cap installation efficient and aligned with South African roof quirks. Accurate mapping helps avoid over-venting and under-venting alike, a balancing act with real-world payoff.
Consider how roof geometry and existing features influence placement. Rather than chasing a one-size-fits-all pattern, think ridge lines, eaves, and potential obstructions. For a smoother process, ponder these non-actionable considerations:
- Roof geometry and airflow paths guide vent spacing.
- Obstructions such as chimneys, skylights, and dormers affect placement.
- Access for installation and future inspections should be contemplated early.
With planning in place, roof vent cap installation proceeds with fewer surprises when the heat is on, keeping interiors cooler and less reliant on the air con herd.
Tools, materials, and safety considerations for vent cap projects
Essential tools for installation and upgrades
Gusts expose the roof’s truth; a lone cap seals more than a vent—it’s a covenant with your home’s comfort. In South Africa’s heat and wind, roof vent cap installation tests craft and resilience, pairing airflow with weatherproofing to endure scorching days and sudden squalls. ‘A cap is a shield against the elements.’
Tools and materials set the threshold for good workmanship. Key instruments for roof vent cap installation include:
- Measuring tape and chalk line
- Drill with bits and driver bits
- Roofing screws with rubber washers
- Exterior sealant (polyurethane or silicone)
- Vent cap with flashing kit
- Utility knife or tin snips
- Protective gear: gloves, safety glasses, non-slip footwear
Safety is the quiet backbone of any project. I treat each bolt as a vow: work in calm conditions, respect fall risks on pitched roofs, and rely on proper PPE. In wind-prone South Africa, guarding against slips is a moral duty during cap installation.
Selecting appropriate vent cap materials (metal, plastic, or aluminum)
On a SA roof, the right tools turn risky work into precise execution. Tools set the pace for clean seams and lasting weatherproofing in roof vent cap installation.
- Metal caps (galvanized steel or copper) for longevity
- Plastic caps (PVC) for affordability and light-duty exposure
- Aluminum caps for lightweight performance and corrosion resistance
Material choice matters as much as tools. Selecting appropriate vent cap materials (metal, plastic, or aluminum) affects durability, corrosion resistance, and UV life.
Safety is the quiet backbone. In wind-prone SA, wear PPE, work during calm conditions, and secure the ladder. Always assume the roof is slick and use fall protection!
Safety gear and best practices when working on an elevated roof
Storm season in South Africa has a knack for turning tiny vent flaws into dramatic leaks. A veteran foreman once said, “Seal it once, sleep dry”—and that creed guides every roof project.
For roof vent cap installation, tools matter as much as nerve. Gather a caulking gun, putty knife, utility knife, chalk line, level, and sturdy ladder—plus PPE for steady footing.
- Hard hat
- Non-slip boots
- Safety glasses
- Fall-arrest harness
Materials wise, metal, plastic, or aluminum each offer different resilience. Metal lasts long; plastic keeps costs down; aluminum blends light weight with corrosion resistance.
Safety matters most in wind-prone SA conditions. Wear PPE, work in calm conditions, secure the ladder, and assume the roof is slick—then deploy fall protection for peace of mind.
Weather considerations and timing for installation
Tools shape the outcome of roof vent cap installation. A precise seal rests on a disciplined toolkit—robust for SA wind and delicate enough to spare flashings. The cap stands as a quiet bulwark against moisture.
Materials wise, metal, plastic, or aluminum each offer distinct resilience. Metal endures the longest; plastic keeps costs down; aluminum blends light weight with corrosion resistance.
- Durability across SA climates
- Coastal corrosion resistance
- Weight and compatibility
Safety considerations: Safety matters most in wind-prone SA conditions. PPE, secure lines, and treating a slick roof with humility; the roof rewards careful footing and clear communication.
Weather considerations and timing for installation: Storm season and heat cycles dictate when work feels most predictable. Professionals weigh dry spells and mild mornings to preserve performance and mood—timing that preserves both seal and morale.
Disposal and recycling of old vent caps
Storm season is ruthless—one loose vent cap can turn a quiet roof into a waterfall. For roof vent cap installation, the right toolkit shapes the outcome—robust for SA winds, yet gentle on flashings.
Materials matter. Metal endures the longest; plastic keeps costs down; aluminum blends light weight with coastal corrosion resistance in SA climates. Each choice echoes in durability and how well the cap neighbors the existing flashings.
Safety matters most when working on an elevated roof. PPE, secure lines, and careful footing keep people out of harm’s way—and prevent small mistakes from becoming big leaks.
Disposal and recycling of old vent caps is a practice with purpose.
- Recycle metal caps at scrap yards.
- Recycle plastic components where accepted.
- Consider reuse in non-critical projects.
Step-by-step installation process for vent caps on a roof
Preparing the roof surface and removing old components
Like a mind’s quiet engineer, ventilation keeps a roof honest. ‘A roof without venting is a room without air,’ they say, and the sentiment lands when summer heat climbs into the loft. Roof vent cap installation shapes airflow, cooling and protecting timber.
Preparing the roof surface and removing old components is the prologue to renewal. Debris is cleared, wear catalogued, and the deck readied so the new cap anchors true.
- Clearing debris and loose material
- Inspecting for damage and moisture ingress
- Ensuring the deck is dry and flat
From there, careful alignment and sealing under the South African sun completes the ritual, marrying durability with quiet performance.
Measuring and marking for accurate placement
In the measured hush of a sunlit SA roof, the step toward roof vent cap installation begins with intent. Measuring and marking for accurate placement sets the rhythm, a quiet prelude that respects airflow while guarding against leaks. When the line is true, the rest of the sequence follows with a patient, precise calm, as if mapping a small cosmos on metal and tile.
- Measuring and marking for accurate placement
- Aligning the cap with reference points and edges for symmetry
- Final alignment check to ensure a tidy, secure fit
Under the South African sun, the act completes with quiet performance, preserving timber and attic life and letting the roof breathe without compromise.
Securing the vent cap and flashing to prevent leaks
On a hot South African afternoon, the quiet routine of roof vent cap installation begins with intention. A well-executed fit respects airflow and wards off leaks, turning a simple cap into a durable part of the roof’s breathing system. When alignment is steady, the sequence unfolds with calm precision, as if mapping a small cosmos on metal and tile.
The plan proceeds through four concise steps.
- Align the cap with reference points and edges for symmetry.
- Fit flashing beneath the cap and roof line, then secure it with unobtrusive fasteners.
- Seal joints between cap, flashing, and roof surface to prevent leaks.
- Perform a final inspection to confirm a tidy, secure fit and unobstructed airflow.
Under the SA sun, the process ends with a seal that lasts and a roof that breathes without compromise.
Sealing joints and flashing for weather-tight performance
On a South African roof, breath is essential. The right roof vent cap installation can transform an ordinary flashing into a guardian against rain and heat, keeping airflow steady and leaks at bay. ‘A roof breathes,’ an old craftsman once said, and every seam deserves listening.
- Prepare the joint area: clean and dry the surface, dry-fit the flashing, and lay a thin bead of sealant around the base to guide placement.
- Position flashing beneath the cap and along the roof line, secure it with corrosion-resistant fasteners, and ensure a flush, even contact without buckling.
- Seal the seams: apply a continuous bead of sealant along the cap to flashing junction and at fastener penetrations, then smooth for a weather-tight finish.
With the joints snug and the flashing hugged to the surface, the roof can breathe freely under the SA sun, supporting roof vent cap installation as a guardian of weather-tight performance.
Final inspection and testing for proper venting
The moment the cap rests on the ridge, the air itself seems to listen. roof vent cap installation becomes a quiet ritual: align the base, coax it to sit flush, and let the sealant guide the way. In this dance of metal and sun, accuracy keeps leaks at bay and airflow steady across the roof surface.
- Align the flashing and ventilation opening, ensuring the cap sits squarely with the ridgeline.
- Secure with corrosion-resistant fasteners, then confirm the cap is flush and free of buckling.
- Seal the junctions with a continuous bead and smooth for a weather-tight finish.
In the final act, we inspect for tight seams, proper vent alignment, and unobstructed airflow. A simple attic test—watching for drafts and listening for steady ventilation—confirms the system breathes as it should.
Maintenance, troubleshooting, and long-term care for vent caps
Routine inspection schedules and what to look for
“A vent cap is the roof’s quiet guardian,” a seasoned roofer once said. In South Africa’s sun, that guardian thrives only with care.
Set a routine inspection schedule—seasonal checks and post-storm glances—so small issues don’t bloom into leaks. Even after roof vent cap installation, maintenance remains stewardship.
- Cracks or warping visible
- Corrosion on metal parts
- Loose fasteners or flashing
- Debris or blockages in vent
When signs appear, view them as clues: wear, seal gaps, or obstruction. A professional assessment clarifies flashing and airflow decisions without unnecessary risk.
Long-term care means picking UV-stable materials and scheduling periodic checks with installers who understand SA climates. Regular cleaning protects the roof’s quiet guardian for years.
Fixing common issues: leaks, noise, or poor venting
Maintenance for a roof vent cap is a quiet ritual, a guardian that keeps the roof’s breath steady in South Africa’s sun. With careful attention, it resists wear, dries out moss, and guards against leaks. Regular checks for seal integrity and clear pathways preserve the vent’s whispered vigil.
Troubleshooting begins when a leak, a whine, or sluggish venting appears. Signs become clues, guiding assessments of seal integrity, airflow paths, and flashing condition. For a proper roof vent cap installation, rely on professionals who understand SA climates.
Long-term care means choosing UV-stable materials and scheduling periodic checks with installers who know the subtleties of our high-noon summers and winter chills. Regular cleaning, wind-drawn debris management, and timely component replacement keep the roof’s quiet guardian guarding homes for years.
Cleaning and maintaining vent caps without damaging seals
Maintenance for a roof vent cap installation is a quiet ritual, a guardian that keeps the roof’s breath steady under South Africa’s sun. With careful attention, it resists wear, dries moss, and guards against leaks. Regular checks preserve the vent’s whispered vigil.
Troubleshooting begins when a leak, a whine, or sluggish venting appears. Signs become clues, guiding assessments of seal integrity, airflow paths, and flashing condition. In this climate, seasoned professionals who understand SA summers and winter chills offer perspective on what the symptoms suggest.
Long-term care means choosing UV-stable materials and scheduling periodic checks with installers who know the subtleties of our high-noon summers and winter chills. Regular cleaning, wind-drawn debris management, and timely component replacement keep the roof’s quiet guardian guarding homes for years.
When to replace vs repair vent caps
On a sun-scorched SA afternoon, one veteran roofer murmurs, “A vent cap is the house’s quiet breath.” This truth shadows roof vent cap installation and reminds us to treat the cap as a living part of the roof’s weather poem. Properly chosen materials and fitting details keep the attic calm under winter chill and summer blaze.
Maintenance is a quiet ritual: regular cleans, careful inspections of seals, flashing, and base; it dries moss, eases wind-driven debris, and preserves the vent’s whispered vigil. Troubles begin as leaks, a whine, or sluggish airflow; these symptoms invite a broader view of seal integrity and airflow paths.
Long-term care means UV-stable materials and periodic checks with installers who know SA’s climate. In weighing repair vs. replacement, consider these cues:
- Visible cracking, corrosion, or deformation.
- Warped base or loose flashing around the cap.
- Leaks persisting after resealing or recurring venting issues.
Impact of roof age and climate on vent cap performance
In SA homes, proper roof vent cap installation matters as climate pulls heat into the attic. A vent cap is the house’s quiet breath.
Maintenance is a quiet ritual: clear debris, inspect seals and flashing, and let UV-stable materials endure SA’s sun and rain.
Troubles show up as leaks, a whine, or sluggish airflow; they invite a broader view of seal integrity and airflow paths.
Long-term care fits SA’s aging roofs: UV and corrosion tests, periodic checks with installers who understand the climate, and a mindset that maintenance becomes a habit.

0 Comments